本文记录如何使用CameraX预览、拍照、解析照片、录制视频。
CameraX特性:
- CameraX最低兼容到Android5.0(API 21)
- CameraX使用的是Camera2的API,但使用的是更为简单且基于用例的方法,该方法具有生命周期感知能力。
- 支持
CameraX Extensions插件,用于访问手机制造商已为特定手机实现的效果(焦外成像、HDR 及其他功能)。
开始使用
确保设备的版本为Android5.0、Android 架构组件 1.1.1及以上。
CameraX的依赖项截止本文发布时的最新版本如下:
1
2
3
4
5
6
7
8
9
10
11
12
13
dependencies {
  // CameraX core library using the camera2 implementation
  def camerax_version = "1.0.0-rc02"
  // The following line is optional, as the core library is included indirectly by camera-camera2
  implementation "androidx.camera:camera-core:${camerax_version}"
  implementation "androidx.camera:camera-camera2:${camerax_version}"
  // If you want to additionally use the CameraX Lifecycle library
  implementation "androidx.camera:camera-lifecycle:${camerax_version}"
  // If you want to additionally use the CameraX View class
  implementation "androidx.camera:camera-view:1.0.0-alpha21"
  // If you want to additionally use the CameraX Extensions library
  implementation "androidx.camera:camera-extensions:1.0.0-alpha21"
}
API模型:
- 配置功能实例
- 添加监听器处理输出数据
- 绑定Lifecycle组件关联CameraX的流程。
预览
预览时需要确保有<uses-permission android:name="android.permission.CAMERA" />权限。
如果需要其他的camera特征的话,可以配置
<uses-feature android:name="android.hardware.camera.any" />。
PreviewView是一种可以剪裁、缩放和旋转以确保正确显示的 View。
当相机处于活动状态时,图片预览会流式传输到 PreviewView 中的 Surface。
- 准备PreviewView
1
2
3
4
5
6
7
8
9
10
11
12
13
14
15
16
17
18
<?xml version="1.0" encoding="utf-8"?>
<androidx.constraintlayout.widget.ConstraintLayout xmlns:android="http://schemas.android.com/apk/res/android"
    xmlns:app="http://schemas.android.com/apk/res-auto"
    xmlns:tools="http://schemas.android.com/tools"
    android:layout_width="match_parent"
    android:layout_height="match_parent"
    tools:context=".MainActivity">

    <androidx.camera.view.PreviewView
        android:id="@+id/pre_main"
        android:layout_width="0dp"
        android:layout_height="0dp"
        app:layout_constraintBottom_toBottomOf="parent"
        app:layout_constraintLeft_toLeftOf="parent"
        app:layout_constraintRight_toRightOf="parent"
        app:layout_constraintTop_toTopOf="parent" />

</androidx.constraintlayout.widget.ConstraintLayout>
- 准备ProcessCameraProvider
1
2
3
4
5
6
7
8
9
10
11
12
13
14
15
class MainActivity : AppCompatActivity() {

    private val cameraProviderFuture by lazy {
        ProcessCameraProvider.getInstance(this)
    }

    xxx

    private fun startCamera() {
        cameraProviderFuture.addListener(Runnable {
            val cameraProvider = cameraProviderFuture.get()

        }, ContextCompat.getMainExecutor(this))
    }
}
- 绑定PreviewView
1
2
3
4
5
6
7
8
9
10
11
12
13
14
15
16
17
18
19
20
21
22
23
24
25
26
27
class MainActivity : AppCompatActivity() {

    private val cameraProviderFuture by lazy {
        ProcessCameraProvider.getInstance(this)
    }

    private val cameraPreview by lazy {
        findViewById<PreviewView>(R.id.pre_main)
    }

   xxx

    private fun startCamera() {
        cameraProviderFuture.addListener(Runnable {
            val cameraProvider = cameraProviderFuture.get()
            val preview : Preview = Preview.Builder()
                .build()

            val cameraSelector : CameraSelector = CameraSelector.Builder()
                .requireLensFacing(CameraSelector.LENS_FACING_BACK)
                .build()

            preview.setSurfaceProvider(cameraPreview.surfaceProvider)

        }, ContextCompat.getMainExecutor(this))
    }
}
- 绑定生命周期跟使用实例
1
2
3
4
5
6
7
8
9
10
11
12
13
14
15
16
17
18
19
20
21
22
23
24
25
26
27
28
class MainActivity : AppCompatActivity() {

    private val cameraProviderFuture by lazy {
        ProcessCameraProvider.getInstance(this)
    }

    private val cameraPreview by lazy {
        findViewById<PreviewView>(R.id.pre_main)
    }

   xxx

    private fun startCamera() {
        cameraProviderFuture.addListener(Runnable {
            val cameraProvider = cameraProviderFuture.get()
            val preview: Preview = Preview.Builder()
                .build()

            val cameraSelector: CameraSelector = CameraSelector.Builder()
                .requireLensFacing(CameraSelector.LENS_FACING_BACK)
                .build()

            preview.setSurfaceProvider(cameraPreview.surfaceProvider)

            cameraProvider.bindToLifecycle(this, cameraSelector, preview)
        }, ContextCompat.getMainExecutor(this))
    }
}
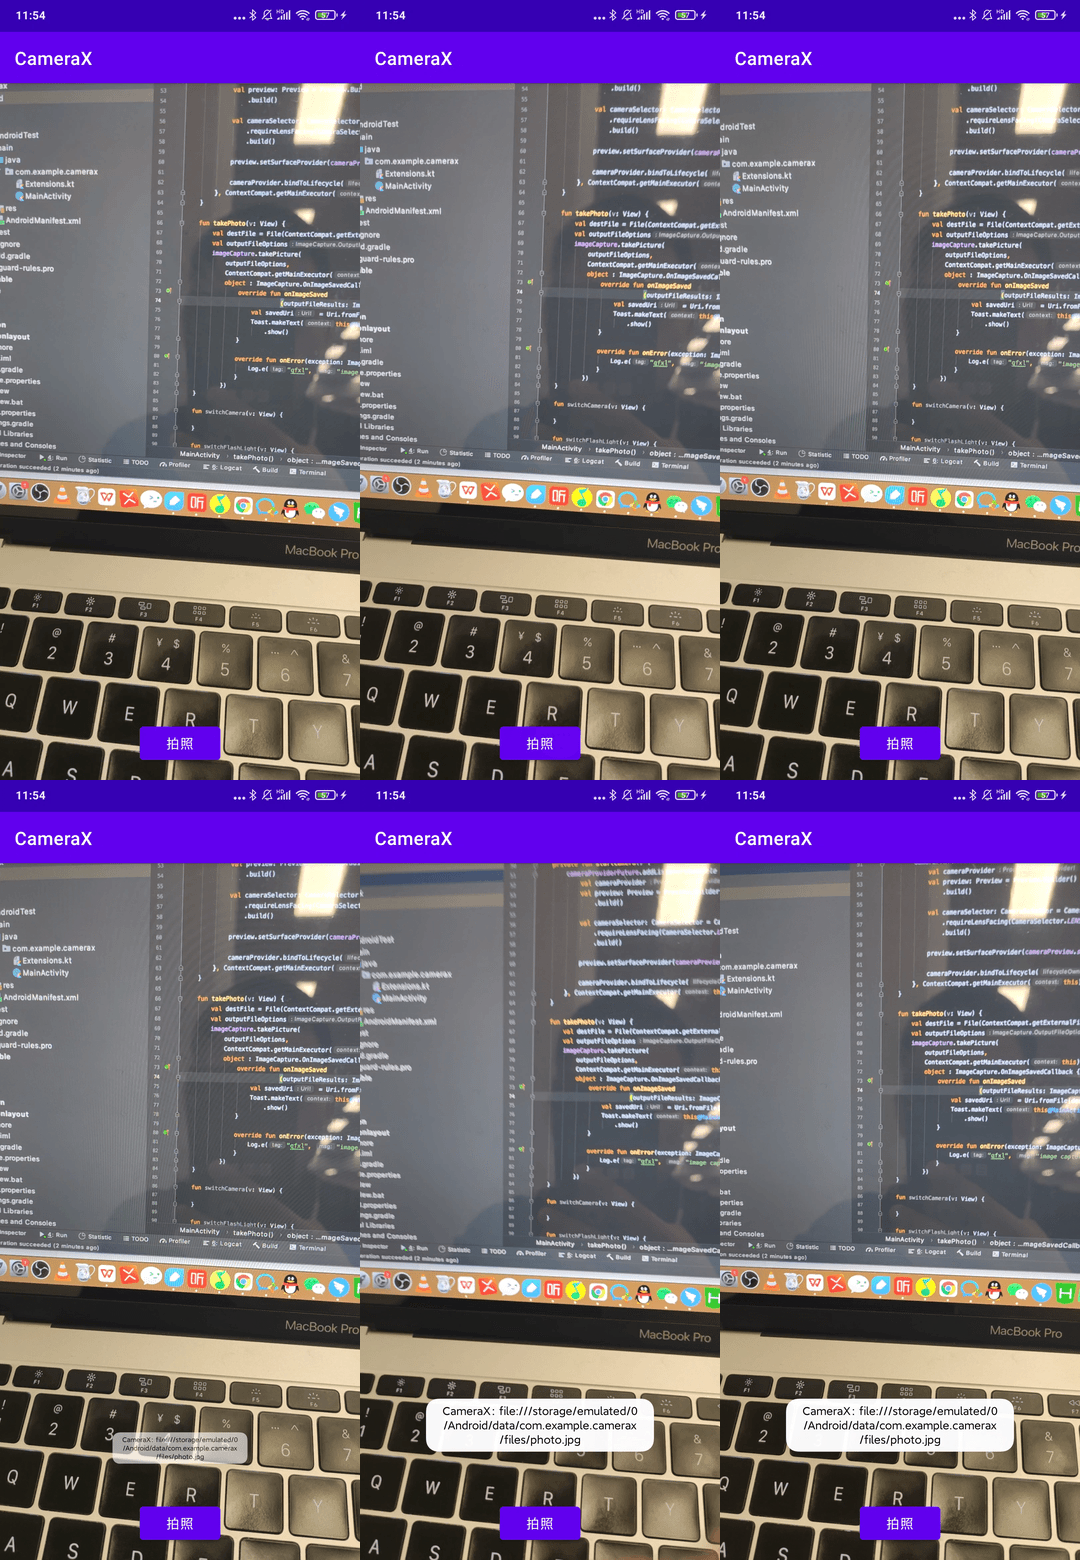
效果,转换Gif的时候压缩了宽高跟帧率:

拍照
CameraX负责拍照的实例为ImageCapture,CameraX支持自动白平衡、自动曝光和自动对焦 (3A) 功能。
构建ImageCapture
1
2
3
4
5
6
7
8
 private val imageCapture by lazy {
        ImageCapture.Builder().apply {
            setCaptureMode(ImageCapture.CAPTURE_MODE_MINIMIZE_LATENCY)//拍照速度更快,质量会适当降低
//            setTargetRotation()
//            setTargetAspectRatio()
//            setFlashMode()
        }.build()
    }
注册给CameraX:
1
cameraProvider.bindToLifecycle(this, cameraSelector, preview, imageCapture)
拍照:
1
2
3
4
5
6
7
8
9
10
11
12
13
14
15
16
17
18
19
fun takePhoto(v: View) {
        val destFile = File(ContextCompat.getExternalFilesDirs(this, null)[0], "photo.jpg")
        val outputFileOptions = ImageCapture.OutputFileOptions.Builder(destFile).build()
        imageCapture.takePicture(
            outputFileOptions,
            ContextCompat.getMainExecutor(this),
            object : ImageCapture.OnImageSavedCallback {
                override fun onImageSaved
                            (outputFileResults: ImageCapture.OutputFileResults) {
                    val savedUri = Uri.fromFile(destFile)
                    Toast.makeText(this@MainActivity, savedUri.toString(), Toast.LENGTH_SHORT)
                        .show()
                }

                override fun onError(exception: ImageCaptureException) {
                    Log.e("qfxl", "image capture failed ${exception.message}", exception)
                }
            })
    }

图片解析
cameraX负责图片分析的实例为ImageAnalysis
图片分析用例可以为应用提供可供 CPU 访问的图片来执行图片处理、计算机视觉或机器学习推断。应用会实现对每个帧运行的 analyze 方法。
比如常见的美颜、滤镜、二维码扫码、人脸识别等。
想要实现对图片的实时帧处理,需要实现ImageAnalysis#Analyzer接口。
图片分析分为两种模式:
- 阻塞式: 执行程序会依序从相应相机接收帧;这意味着,如果
analyze()方法所用的时间超过单帧在当前帧速率下有延迟,所接收的帧可能不再是最新的帧,因为在该方法返回之前,新帧无法被解析。 - 非阻塞式: 在此模式下,执行程序在调用
analyze()方法时会从相机接收最新的可用帧。如果此方法所用的时间超过单帧在当前帧速率下的延迟时间,它可能会跳过某些帧,以便analyze()在下一次接收数据时获取最新可用帧。
代码设置方式分别为:
1
2
setBackpressureStrategy(ImageAnalysis.STRATEGY_BLOCK_PRODUCER) //阻塞
setBackpressureStrategy(ImageAnalysis.STRATEGY_KEEP_ONLY_LATEST) //非阻塞
比如,实现二维码扫码功能:
依赖zxing
1
implementation 'com.google.zxing:core:3.3.3'
Analyzer
1
2
3
4
5
6
7
8
9
10
11
12
13
14
15
16
17
18
19
20
21
22
23
24
25
26
27
28
29
30
31
32
33
34
35
36
37
38
39
40
41
42
43
class QrCodeAnalyzer : ImageAnalysis.Analyzer {

    private val qrCodeReader by lazy {
        MultiFormatReader()
    }

    val qrCodeLiveData by lazy {
        MutableLiveData<String>()
    }

    private var decodeFinished = false
    private fun ByteBuffer.toByteArray(): ByteArray {
        rewind()    // Rewind the buffer to zero
        val data = ByteArray(remaining())
        get(data)   // Copy the buffer into a byte array
        return data // Return the byte array
    }

    override fun analyze(image: ImageProxy) {
        if (decodeFinished) {
            return
        }
        val dataBytes = image.planes[0].buffer
        val yuvSource = PlanarYUVLuminanceSource(
            dataBytes.toByteArray(),
            image.width,
            image.height,
            0,
            0,
            image.width,
            image.height,
            false
        )
        try {
            val qrCodeContent = qrCodeReader.decode(BinaryBitmap(HybridBinarizer(yuvSource)))
            qrCodeLiveData.postValue(qrCodeContent.text)
            decodeFinished = true
        } catch (e: Exception) {
            Log.e("qfxl", "decode error ${e.message}", e)
        }
        image.close()
    }
}
使用Analyzer
1
2
3
4
5
6
7
8
9
10
11
12
13
14
15
16
17
18
19
20
21
22
23
24
25
26
27
28
29
30
private val analyzerThread = HandlerThread("AnalyzerThread").apply {
        start()
    }

private val analyzerHandler by lazy {
        Handler(analyzerThread.looper)
    }

xxx

val imageAnalyzer = ImageAnalysis.Builder().apply {
                //only care about the latest image
                setBackpressureStrategy(ImageAnalysis.STRATEGY_KEEP_ONLY_LATEST)
            }.build().apply {
                setAnalyzer(Executor { r ->
                    analyzerHandler.post(r)
                }, QrCodeAnalyzer().apply {
                    qrCodeLiveData.observe(this@MainActivity, Observer { content ->
                        Toast.makeText(this@MainActivity, "result -> $content", Toast.LENGTH_SHORT)
                            .show()
                    })
                })
            }
cameraProvider.bindToLifecycle(
                this,
                cameraSelector,
                preview,
                imageCapture,
                imageAnalyzer
            )
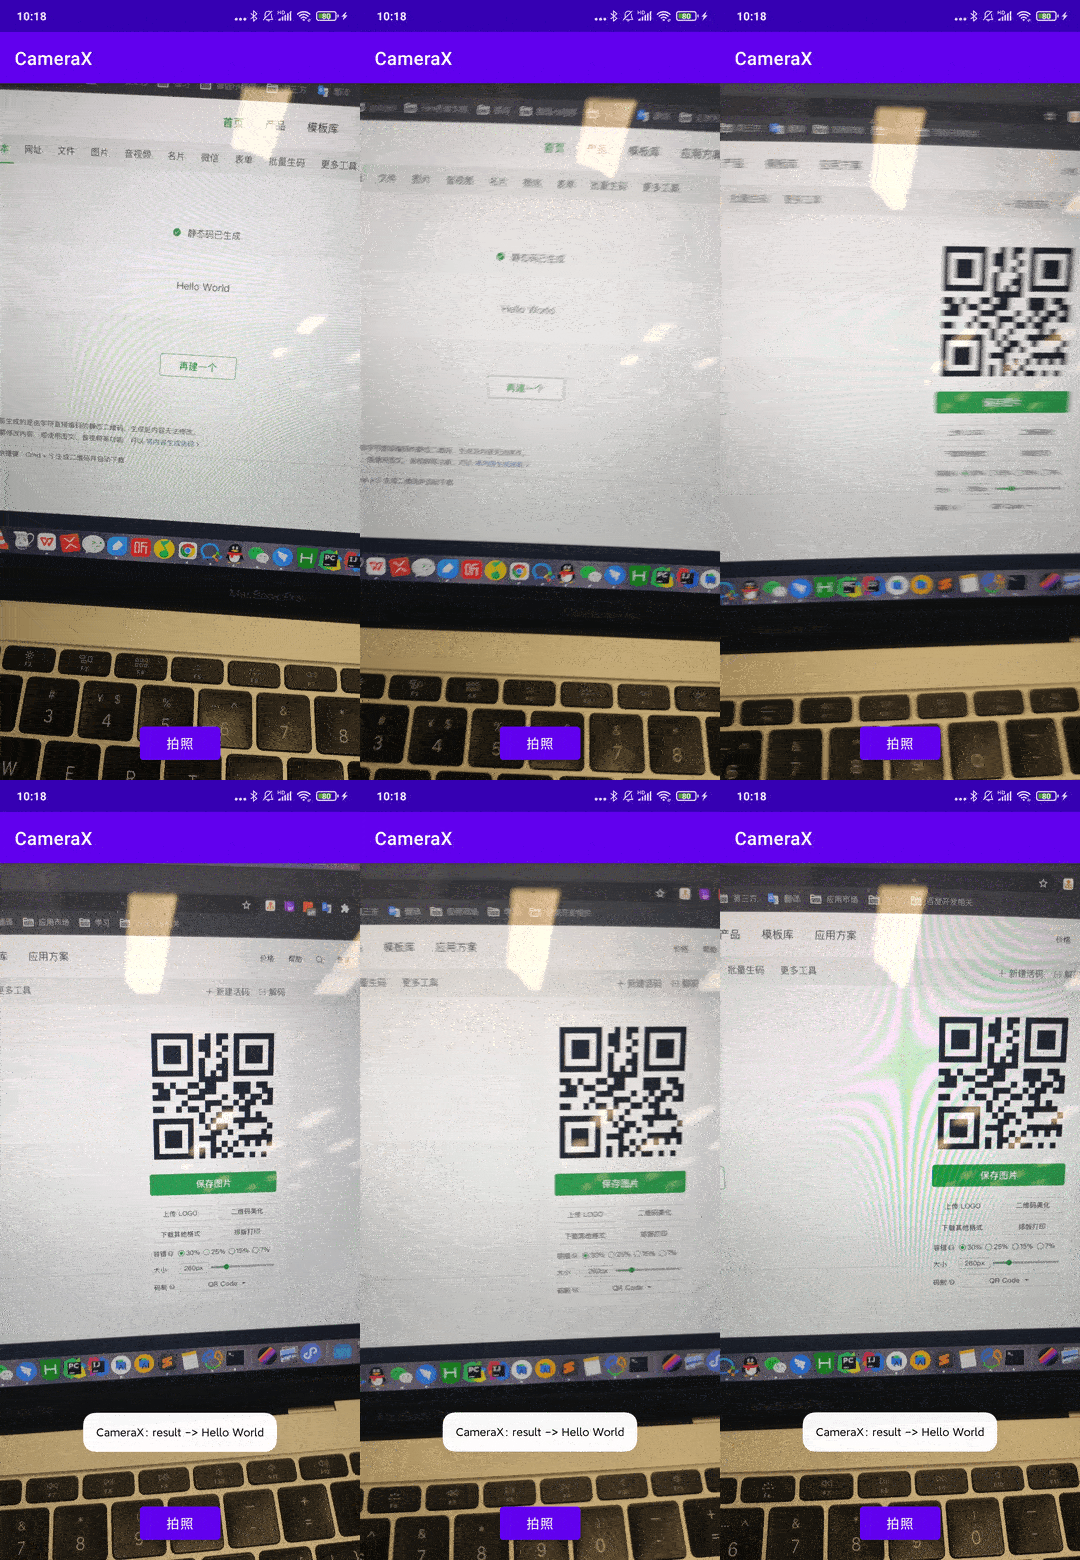
效果:

注意: 从 analyze() 返回前,需要调用 image.close()关闭图像引用,以避免阻塞其他图像的生成(导致预览停顿)并避免可能出现的图像丢失。此方法必须完成分析或创建副本,而不是超出分析方法之外传递图像引用。
视频录制
CameraX负责拍照的实例为VideoCapture。
配置:
视频录制需要有<uses-permission android:name="android.permission.RECORD_AUDIO" />权限。
1
2
3
4
5
6
7
8
9
10
11
12
13
14
15
16
17
18
19
20
21
22
23
24
25
26
27
28
private val videoCapture by lazy {
        VideoCapture.Builder.fromConfig(VideoCapture.DEFAULT_CONFIG.config).build()
    }

xxx

fun record(v: View) {
        val destFile = File(ContextCompat.getExternalFilesDirs(this, null)[0], "video.mp4")
        val outputFileOptions = VideoCapture.OutputFileOptions.Builder(destFile).build()
        videoCapture.startRecording(
            outputFileOptions,
            ContextCompat.getMainExecutor(this),
            object : VideoCapture.OnVideoSavedCallback {
                override fun onVideoSaved(outputFileResults: VideoCapture.OutputFileResults) {
                    val savedUri = Uri.fromFile(destFile)
                    Toast.makeText(this@MainActivity, savedUri.toString(), Toast.LENGTH_SHORT)
                        .show()
                }

                override fun onError(videoCaptureError: Int, message: String, cause: Throwable?) {
                    Log.e("qfxl", "video record failed $message", cause)
                }
            })

        Handler(Looper.getMainLooper()).postDelayed({
            videoCapture.stopRecording()
        }, 3000)
    }
供应商扩展
CameraX提供了API用于访问手机制造商已为特定手机实现的效果(焦外成像、HDR 及其他功能)。为了支持供应商扩展,设备必须满足以下所有条件:
- 相应效果拥有来自设备 OEM 的库支持。
- 当前设备上已安装了 OEM 库。
- OEM 库报告设备支持扩展。
- 设备搭载了库所要求的操作系统版本。
比如常见的HDR、夜景、美颜功能,开启方式如下,以HDR为例:
1
2
3
4
5
6
7
8
val cameraSelector: CameraSelector = CameraSelector.Builder()
    .requireLensFacing(CameraSelector.LENS_FACING_BACK)
    .build()
val hdrImageCapture = HdrImageCaptureExtender.create(this)
if (hdrImageCapture.isExtensionAvailable(cameraSelector)) {
    //enable hdr
    hdrImageCapture.enableExtension(cameraSelector)
}
关于CameraX的详细配置,推荐官方文档。